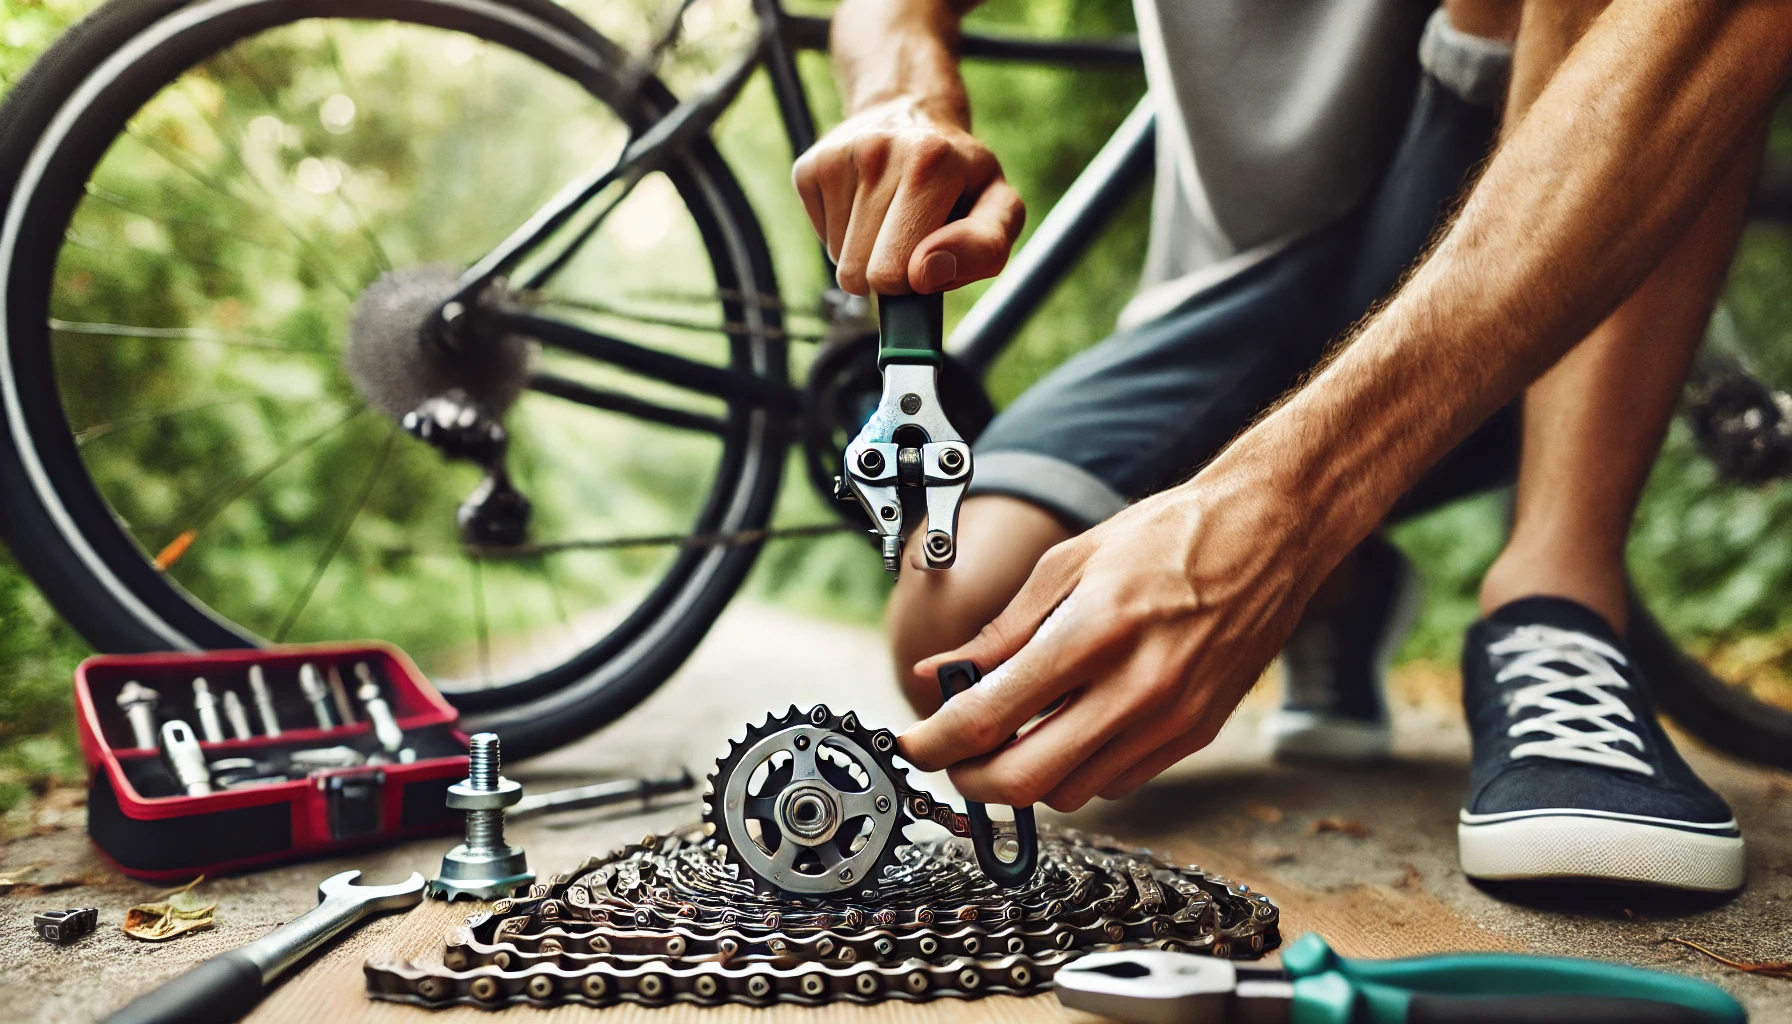
One of the most common issues cyclists face is a broken or damaged bike chain. Whether you’re out on the road or simply maintaining your bike at home, knowing how to repair your chain can save you time and hassle. In this guide, we’ll walk you through the steps to mend your bike chain and get you back on the road.
We visited the team at The Bike Project for a step-by-step guide on how to fix a damaged chain.
Step 1: Assess the Problem
First, take a close look at your chain. If your chain has snapped, you’ll need to find the broken link. In some cases, the chain may simply have come off the gears, in which case you can skip ahead to realigning the chain.
If you spot the broken link, this is the point that needs mending. You may also notice some rust or wear if your chain is old. If it’s heavily damaged, you may want to consider replacing the chain entirely.
Step 2: Gather Your Tools
To mend a bike chain, you’ll need a few basic tools:
- A chain breaker tool (used to remove or reconnect chain links)
- A new chain link, if necessary (known as a master link)
- A pair of gloves (to keep your hands clean)
A chain breaker tool is essential as it allows you to push the pin out of the broken link and remove the damaged section of the chain.
Step 3: Remove the Damaged Link
Use the chain breaker tool to push the pin out of the broken link. Be careful not to push the pin all the way out, as it can be tricky to get it back in later. Once the pin is partially out, you can remove the damaged link and any other worn-out sections.
Step 4: Reconnect the Chain
If you’re using a master link, attach the two ends of the chain with the new link. If you’re reconnecting the chain without a master link, use the chain breaker tool to push the pin back into place, securing the chain. Ensure that the chain moves smoothly and doesn’t catch or stick when it runs through the gears.
Step 5: Realign the Chain
Once the chain is repaired, carefully place it back onto the gears. If your chain has fallen off the gears, guide it back onto the front chainring first, and then pull it onto the rear sprockets. Turn the pedals to ensure the chain is properly aligned and running smoothly.
Step 6: Test Ride
After the repair is complete, take your bike for a short test ride. Shift through the gears to ensure the chain is functioning properly and there’s no slippage. If the chain is still slipping or not running smoothly, you may need to make further adjustments or replace worn parts.
Tips for Chain Maintenance
- Keep your chain clean and well-lubricated to prevent wear and rust.
- Regularly check for signs of damage or stretched links.
- Carry a small repair kit with you on longer rides, including a chain breaker tool and spare master link, just in case.
By following these steps, you’ll be able to confidently repair your bike chain, whether at home or on the go. Remember, the more familiar you become with your bike’s mechanics, the easier these fixes will be over time. Happy cycling!